Easy Butter Pie Crust in Pan Recipe
Our favorite butter pie crust recipe that makes consistent flaky pie dough every time. Our recipe below includes a straightforward video showing how we make it. In the video, we show how to make the crust by hand and with a food processor. Jump to the full Pie Crust Recipe
How to Make Our Favorite All-Butter Pie Crust
We've been making pie crust the same way in our kitchen for years. We cut butter (or other solid fat) into flour until the butter and flour look crumbly and have pieces of butter the size of peas. Then, we add just enough water to form the dough into a ball. That was until we found a better way. A homemade pie crust recipe, rather a pie crust method, that's consistent and makes dough that's a dream to roll out.
It's not that our previous method failed us. We just came across another way of how to make it. A while back Cooks Illustrated reworked pie dough.
You may have heard of it — they added vodka to their recipe. (We don't add vodka — I'll get to that in a minute).
Cooks Illustrated looked at the science behind pie crust — and it made sense. Our high school science teachers would be proud.
Here's all you really need to know: Gluten is an enemy to pie crust. Some gluten is okay and actually needed for structure, but too much can really mess things up.
So, remember this: less gluten formation = flakier and more tender pie crusts.
Back to the vodka. That's what got all the hype — why wouldn't it, right? In their recipe, the vodka replaced some of the water.
The theory is that vodka doesn't promote gluten formation, whereas water does. So, by replacing part of the water with vodka, it helps the pie crust become flakier and more tender.
We love the idea and many swear it works, but adding a 1/4 cup of vodka to our homemade pie dough recipe just didn't sit well with us. It's not something we store in our home often and it's expensive.
Making Flaky Pie Crust — It's About the Method
What's more important than vodka is the way you combine flour and fat (in our case, butter).
Remember that gluten is our enemy when it comes to pie dough? Well, Cook's Illustrated found that if you thoroughly mix part of the flour with the fat (butter) and make a flour-butter paste first, every particle of that flour becomes coated in fat.
Think of each particle of flour with butter raincoats. These raincoats make it very difficult for the flour to absorb water. In other words, it helps toprevent the development of too much gluten.
Then, you can add the remaining flour so the perfect amount of gluten develops. This means perfect pie crust, every time.
What We're Looking For
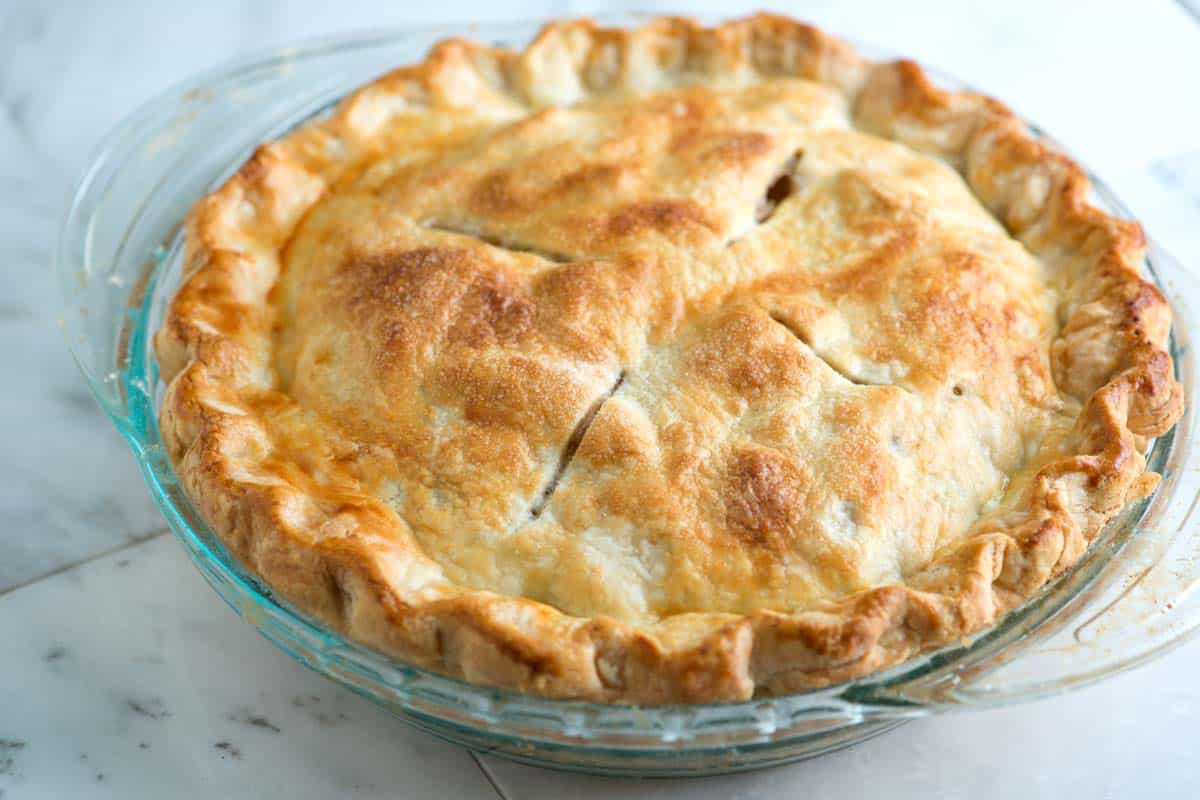
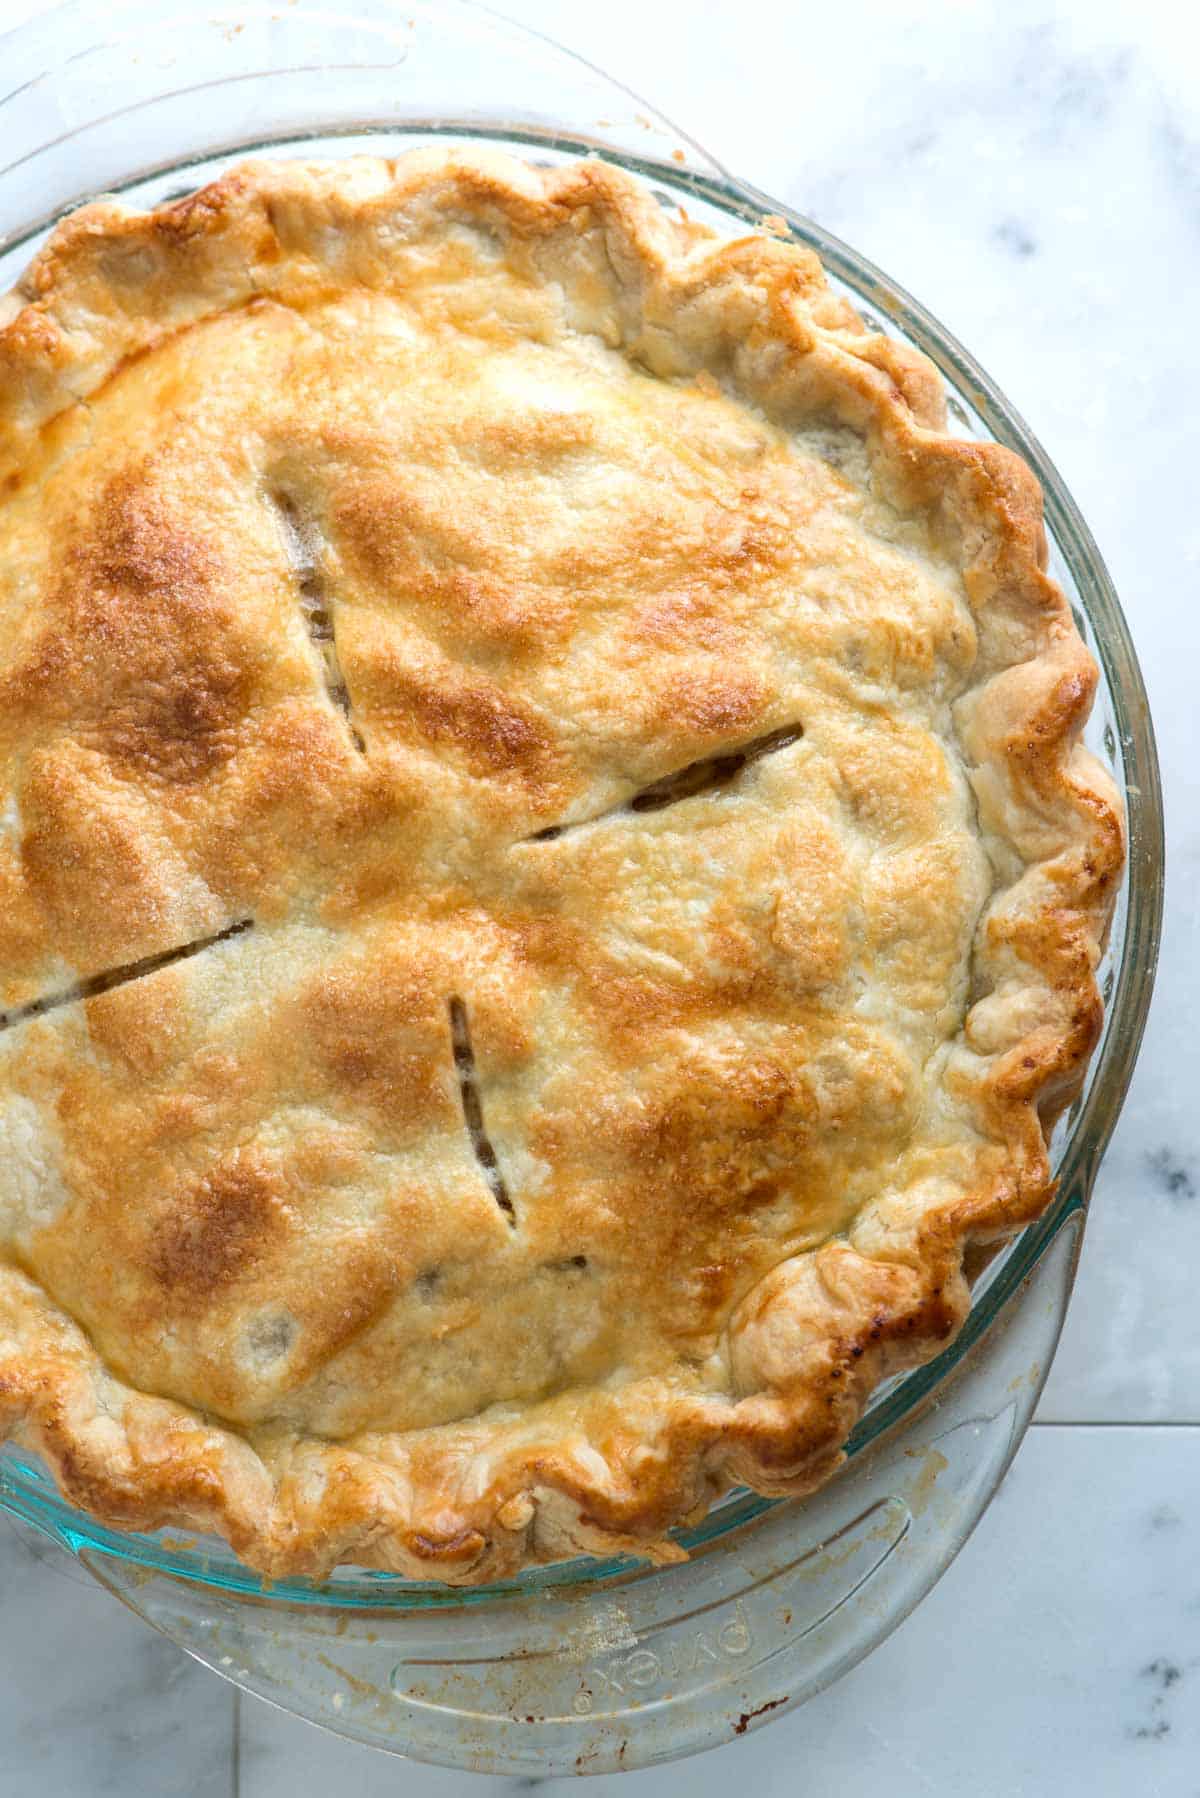
Great pie crust shouldn't become all soggy from juicy fillings, but is light enough to flake. It isn't crumbly, instead it's made of long, thin layers of dough (see photo). It should stand up to fillings, but shouldn't be chewy, hard or heavy.

So, After All That Talk, Did it Work?
Yes. It really did. Our pie crust was tender with long thin layers of dough, making it perfectly flaky.
We love this method for two reasons:
- It's consistent. By adding part of the flour to the butter first, combing them into a paste then adding the remaining flour, the recipe determines how much flour is being used for the formation of gluten. The dough is the same, every time.
- That butter and flour paste really helps when it comes to working with the dough. Since it's more pliable, the dough is easily rolled out.
Making the Dough – By Food Processor or by Hand
The folks at Cooks Illustrated insist on using a food processor for this method. We sort of agree — It makes making the flour and butter paste easy.
Use the food processor to make the paste then add the remaining flour. Pulse a few times then transfer everything to a bowl and add water until the dough comes together. (You don't want to add water to the food processor — that can overwork the dough and lead to extra gluten formation).
Using the food processor eliminates variability. If you have one, use it.
With all that said, we hate cleaning dishes and since a food processor means 5 parts to clean (yes we counted) we tried this method by hand.
It worked.
We used a pastry cutter to cut the butter into part of the flour and made it as close to a paste as possible. The flour was moistened by the butter and the mixture looked like fresh breadcrumbs — it was not powdery from flour. Then, we cut in the remaining flour and added water until the dough came together.
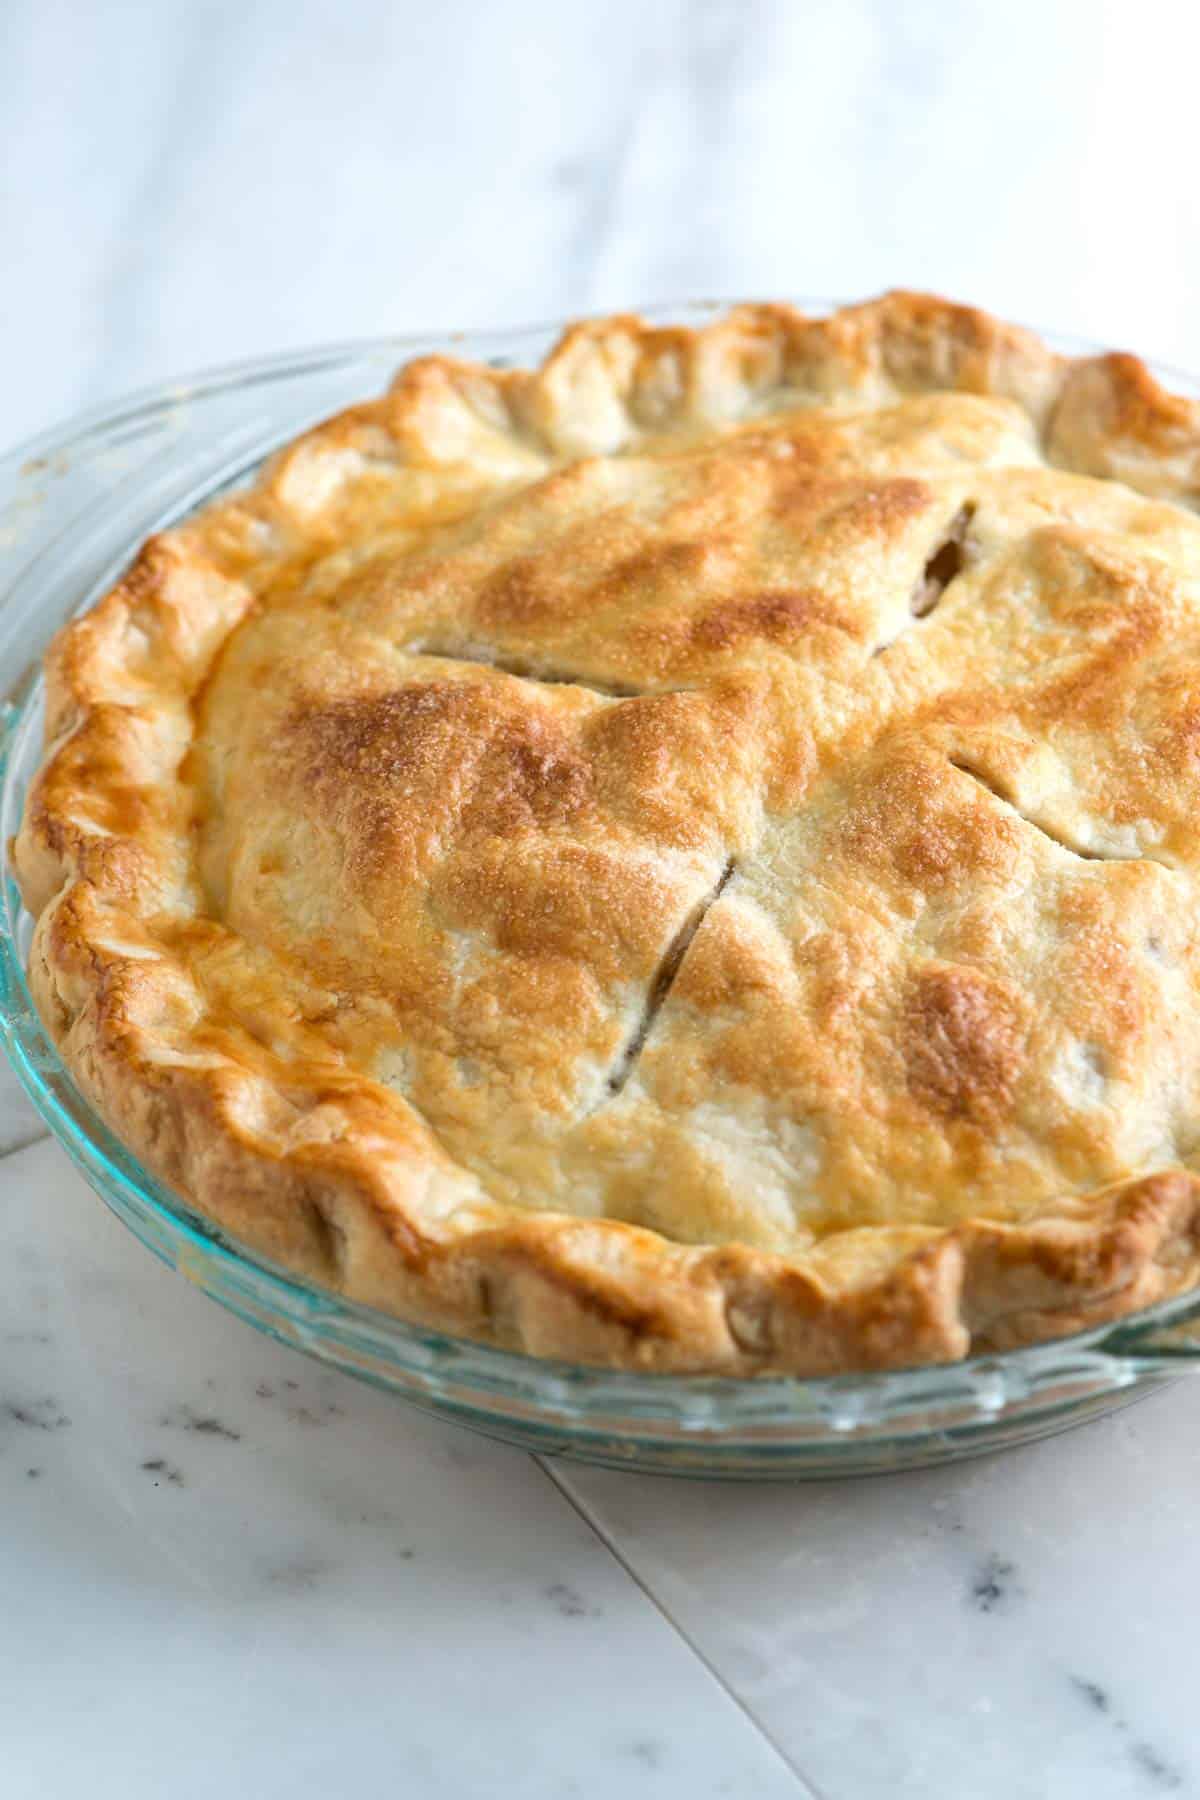
The dough made by hand was just as easy to roll out and turned out just as flaky. In fact, the photo above is actually from dough made by hand, not the food processor.
So, if you don't have a food processor or are like us and hate the extra dishes, give making it by hand a go.
Make Ahead Tips
Wrap pie dough well so that it is airtight. (I use plastic wrap.) Well-wrapped pie dough lasts in the refrigerator for up to 3 days and in the freezer for three months.
When you are ready to use frozen pie dough, transfer it to the fridge and let it thaw overnight. Dough straight from the refrigerator can sometimes be tricky to roll out. If yours is, leave it on the counter for a few minutes to warm up slightly, and then try rolling it out again.
More Easy Pie Recipes
- How to make Blueberry Pie with fresh (or frozen) blueberries, warm spices, lemon, and an easy lattice crust.
- Our Favorite Apple Pie — perfectly cooked (not mushy) apples surrounded by a thickened and gently spiced sauce all baked inside a flaky, golden brown crust
- Easy Cherry Pie — we can't decide which we prefer, blueberry or cherry pie.
- Strawberry Pie — it's a little quicker to make and very tasty.
- If time isn't on your side, you may want to try our Handheld Berry Pies!
Recipe updated, originally posted May 2013. Since posting this in 2013, we have tweaked the recipe to be more clear and added a quick recipe video. – Adam and Joanne
Easy All-Butter Flaky Pie Crust
- PREP
This pie crust recipe makes consistent dough and makes dough that's a dream to roll out. Using a food processor in this recipe eliminates variability. If you have one, use it. With that said, you can do this method by hand. Directions are provided below for using a processor and by hand.
Enough for one 9-inch double crust pie
Watch Us Make the Recipe
You Will Need
2 ½ cups (325 grams) all-purpose flour 1 teaspoon kosher salt or use 1/2 teaspoon fine sea salt 1 tablespoon sugar, optional 1 cup (230 grams) very cold unsalted butter, cut into 1/2-inch cubes (2 sticks) 4 to 8 tablespoons ice water
Directions
- Method When Using Food Processor
- Method When Making By Hand
- Rolling Out Dough
- How to Pre-Bake a Crust for a Single-Crust Pie (quiches, custard, and cream pies)
- How to Make a Double Crust Pie
Add 1 ½ cups flour, salt, and sugar (optional) to a food processor. Pulse 2 to 3 times until combined. The remaining cup of flour will be added later.
Scatter butter cubes over flour and process until a dough or paste begins to form, about 15 seconds. (There should be no uncoated flour).
Scrape bowl, redistribute the flour-butter mixture then add remaining 1 cup of flour. Pulse 4 to 5 times until flour is evenly distributed. (Dough should look broken up and a little crumbly).
Transfer to a medium bowl then sprinkle ice water over mixture — start with 4 tablespoons and add from there. Using a rubber spatula, press the dough into itself. The crumbs should begin to form larger clusters. If you pinch some of the dough and it holds together, it's ready. If the dough falls apart, add 2 to 4 more tablespoons of water and continue to press until dough comes together.
Remove dough from bowl and place in a mound on a clean surface. Work the dough just enough to form a ball. Cut the ball in half then form each half into discs. Wrap each disc with plastic wrap and refrigerate for at least 1 hour and up to 2 days. You can also freeze it for up to 3 months (just thaw it overnight in the fridge before using it).
Add 1 1/2 cups flour, salt and sugar (optional) to a medium bowl. Stir 2 to 3 times until combined.
Scatter butter cubes over flour and mix briefly with a fork or spatula to coat the butter with flour.
Cut the butter into the flour with a pastry blender, working mixture until the flour has a coarse, mealy texture similar to fresh bread crumbs. About 1 – 2 minutes.
Add remaining 1 cup of flour. Work butter and flour with the pastry blender until flour is evenly distributed. About 20 seconds. (Dough should look crumbly with pea-sized pieces).
Sprinkle ice water over the mixture — start with 4 tablespoons and add from there. Using a rubber spatula, press the dough into itself. The crumbs should begin to form larger clusters. If you pinch some of the dough and it holds together, it's ready. If the dough falls apart, add 2 to 4 more tablespoons of water and continue to press until dough comes together.
Remove dough from bowl and place in a mound on a clean surface. Work the dough just enough to form a ball. Cut ball in half then form each half into discs. Wrap each disc with plastic wrap and refrigerate at least 1 hour, and up to 2 days. You can also freeze it for up to 3 months (just thaw it overnight in the fridge before using).
Remove one of the dough discs from the refrigerator and let sit at room temperature for 5 minutes.
Lightly flour work surface, top of dough and rolling pin. Then use rolling pin to roll out dough to a 12-inch circle (about 1/8-inch thick). Be sure to check if the dough is sticking to the surface below — add a small amount of flour when necessary.
Check for size by inverting pie dish over dough round. Look for a 1-inch edge around the pie dish. To transfer dough to dish, starting at one end, roll dough around rolling pin then unroll over dish.
Gently press dough down into dish so that it lines the bottom and sides of the dish. (Be careful not to pull or stretch the dough). Then, use a knife or pair of kitchen scissors to trim dough to within 1/2-inch of the edge of the dish.
Fold edge of dough underneath itself so that it creates a thicker, 1/4-inch border that rests on the lip of the dish. Then, crimp edges by pressing the pointer finger of one hand against the edge of the dough from the inside of the dish while gently pressing with two knuckles of the other hand from the outside. Refrigerate dough at least 20 minutes or freeze for 5 minutes before baking.
If making a double crust pie, do not crimp edges yet. Roll out second dough disc, fill pie then top with second dough round. Trim the edges then crimp.
Heat the oven to 425 degrees F. Place a baking sheet on a middle oven rack.
Roll out enough dough to make one 9-inch crust (1 dough disk). Place into a pie plate and then pierce the bottom of the crust with a fork (this prevent air pockets or bubbles from forming while baking). Line the crust with two sheets of aluminum foil or parchment paper. (Be sure to push foil against the edges of the crust). Then, fill foil with dried rice, dried beans or pie weights. Refrigerate 30 minutes or freeze for 10 minutes, or until firm to the touch.
Place pie crust onto preheated baking sheet and reduce oven temperature to 400 degrees F. Bake 20 to 30 minutes or until the crust is golden.
Make an egg wash by whisking one egg yolk and 1 tablespoon of cream in a small bowl. Then, remove rice, beans or pie weights and foil from pie crust. Brush the bottom and sides of the crust with egg wash. Bake until egg wash is dry and shiny, 3 to 5 minutes. Cool crust completely before filling.
Oven temperature and bake time for double crust pies will vary depending on the pie recipe you plan to follow. As an example, we set our oven to 400 degrees Fahrenheit for our double crust cherry pie (see the recipe here).
Remove half of dough from refrigerator and let sit at room temperature for 5 minutes. On a lightly floured surface, roll out dough to a 13-inch (1/8-inch thick) circle.
Check for size by inverting pie dish over dough round. Look for a 1-inch edge around the pie dish. Carefully press the dough into the dish. Spoon the pie filling into pie crust.
Roll out second half of dough then top pie. Use a knife or pair of kitchen scissors to trim dough to within 3/4-inch of the edge of the dish.
Fold edges of top crust underneath edges of bottom crust, pressing the edge to seal it so that it creates a thicker, 1/4-inch border that rests on the lip of the dish. Then, crimp edges by pressing the pointer finger of one hand against the edge of the dough from the inside of the dish while gently pressing with two knuckles of the other hand from the outside. Refrigerate pie at least 20 minutes or freeze for 5 minutes before baking.
Just before baking, make egg wash by whisking egg yolk and cream together in a small bowl. Use a pastry brush to brush over the top crust. Then, sprinkle with 1 tablespoon of sugar. Then, cut 3 to 4 slits in top of pie. Bake as directed by the specific recipe you are following.
Adam and Joanne's Tips
- How to make pie crust in advance: Wrap pie dough well so that it is airtight. (I use plastic wrap.) Well-wrapped pie dough lasts in the refrigerator for up to 3 days and in the freezer for three months. When you are ready to use frozen pie dough, transfer it to the fridge and let it thaw overnight. Dough straight from the refrigerator can sometimes be tricky to roll out. If yours is, leave it on the counter for a few minutes to warm up slightly, and then try rolling it out again.
- Nutrition facts: The nutrition facts provided below are estimates. We have used the USDAdatabase to calculate approximate values.
If you make this recipe, snap a photo and hashtag it #inspiredtaste — We love to see your creations on Instagram and Facebook! Find us: @inspiredtaste
Nutrition Per Serving: Serving Size 1/8 of dough / Calories 345 / Protein 4 g / Carbohydrate 30 g / Dietary Fiber 1 g / Total Sugars 0 g / Total Fat 23 g / Saturated Fat 15 g / Cholesterol 61 mg
Source: https://www.inspiredtaste.net/22662/flaky-pie-crust-recipe/
0 Response to "Easy Butter Pie Crust in Pan Recipe"
Post a Comment